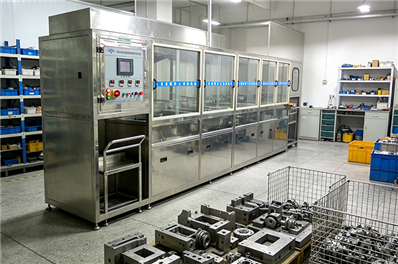
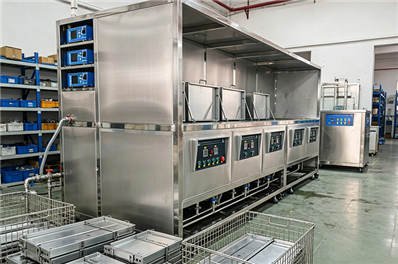
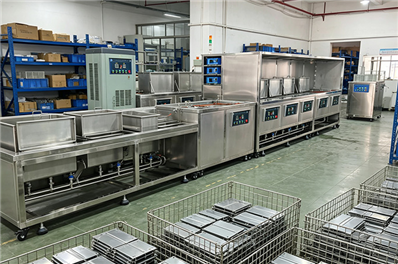
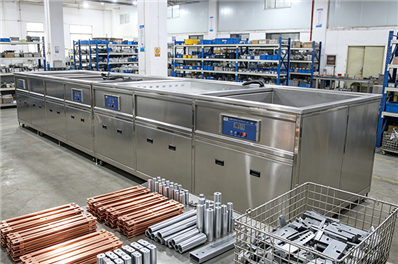
The installation procedure of ultrasonic cleaning machine:
1. Prepare the necessary bonding Ultrasonic transducer (matched), cylinder block, mesh pad, glue, etc.
2. Sandblasting shall stop sandblasting on the bonded Ultrasonic transducer and cylinder block. The bonded surface shall be as fine as possible. Sandblasting shall use 30 mesh diamond sand, the sand must be dry and often selected (every time into the sandbox to choose), sandblasting when the pressure of compressed air should be ≥6 kg, and after the air source processor dehumidification of high-pressure air.
3. Clean the cylinder block and Ultrasonic transducer that the ultrasonic cleaner has disposed of and stop cleaning. First, the transducer stop cleaning with methanol to remove the sand and other dust on the surface, and then stop rinsing with acetone; The cylinder body is first rinsed with water, then rinsed and cleaned with acid, and then rinsed with methanol and acetone respectively once after being dried, nET pad with ≤30 mesh thickness ≤0.15 stainless steel net abnormal cleaning clean (conditional electrolytic disposal) spare.
4. Dry and preheat put the cleaned Ultrasonic transducer, cylinder block, and mesh pad into the oven to stop drying. Dry for 2 hours at 60 â ° C-80 â ° C and then cool down to about 40 â ° C to stop bonding. In all the pre-bonding tasks done, with a good glue (room temperature) full harmony after the rapid stop bonding.
5. gluing
A. Place the disposed of cylinder block on the bonding plate, use acetone in the bonding area with a cotton cloth and try again.
B. Use acetone on the Ultrasonic transducer, then wipe it down with a cotton cloth.
C. Preheat for 1-2 minutes with glue. (each configuration of glue can not be too much, to a bonding 20-30 head as the standard) glue configuration for 5G/head, the ratio of 1:0.4(adhesive than curing agent, should be as accurate as possible).
D. When the cylinder and Ultrasonic transducer are cooled to about 40 â ° c, stop bonding. When bonding, apply glue evenly to the cylinder and Ultrasonic transducer, place mesh cloth on both ends, and press down hard, do not exceed 10 minutes on the bonding day after each glue configuration (full preparation is required).
E. Don't. After the end of the pressure treatment stop (to sing tooling, soft spring pressure).
6. Curing put the cylinder block into a dust-free oven to stop curing, the curing temperature is 40-50 ° C at a time after curing for 30 minutes, heating to 60-70 ° C for 30 minutes, then heating to 80 ° C for 2 hours, then curing naturally for 24 hours. The curing heating is controlled by the program-controlled intelligent temperature controller.
7. The bonding impedance of each transducer (60W, 22khz, 25khz, 28KHZ) is about 250ω and can not exceed 300Ω, and the characteristics of the Ultrasonic transducer can not be detected (no clutter), the Ultrasonic transducer impedance on the same cylinder block should be as close as possible to the difference and not exceed 20% (about ± 50Ω) of the uniform value. If the Ultrasonic transducer does not meet the requirements, remove them and re-bond them.
Only making a reasonable installation of the ultrasonic cleaning machine can be a normal operation, which will not bring some of the ultrasonic cleaning machine's work back to the advantage.