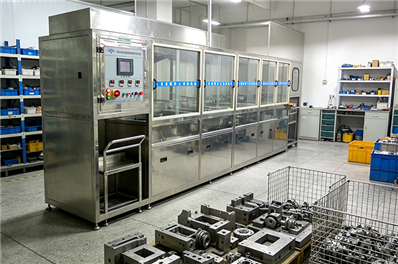
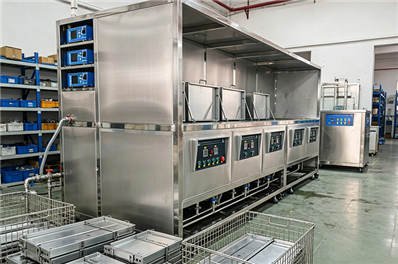
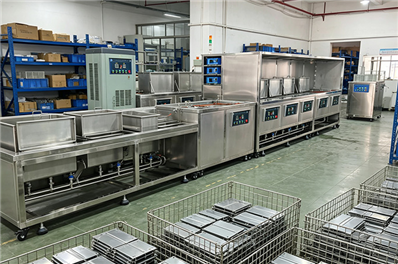
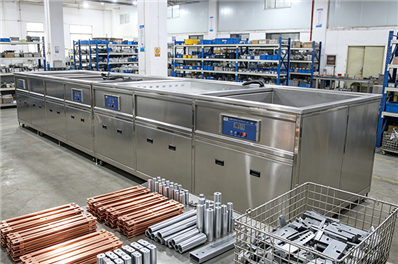
Understanding power modification is crucial for tailoring cleaning performance to specific tasks. This guide covers legal, technical, and safety aspects of adjusting ultrasonic cleaner output (typically ranging from 50W to 2000W).
Tools Required:
Procedure:
Safety Note:
Applicable Models:
Steps:
Warning:
Exceeding 0.8W/cm² may damage transducers
Configuration Options:
| Modification Type | Power Change | Cost Range |
|---|---|---|
| Add parallel transducers | +30-50% | 200−200−800 |
| Upgrade to high-Q ceramics | +25% efficiency | 150−150−400 |
| Implement booster horns | +40% focal intensity | 300−300−1,200 |
Implementation Checklist:
✓ Impedance matching verification (LCR meter required)
✓ Cavitation threshold testing
✓ FDA compliance review (for medical devices)
Formula:
复制
下载
Power Density (W/cm²) = Total Power (W) / Tank Bottom Area (cm²)
*Ideal range: 0.3-0.6 W/cm² for general cleaning*
| Region | Regulation | Power Modification Limits |
|---|---|---|
| EU | CE Directive | Max +15% original rating |
| US | OSHA 1910 | Requires professional certification |
| Medical | FDA 510(k) | Prohibits unauthorized changes |
| Component | Inspection Frequency | Critical Parameters |
|---|---|---|
| Transducers | Bi-weekly | Impedance ≤±10% baseline |
| Seals | Monthly | Leakage <0.5ml/min |
| Electronics | Quarterly | THD <5% |
Expert Recommendation:
For industrial applications, consider professional retrofitting services rather than DIY modifications. Properly executed power adjustments can improve cleaning efficiency by 25-40%, but improper modifications account for 62% of ultrasonic cleaner failures (2023 Industrial Cleaning Report). Always document modifications and retrain operators on adjusted equipment parameters.